
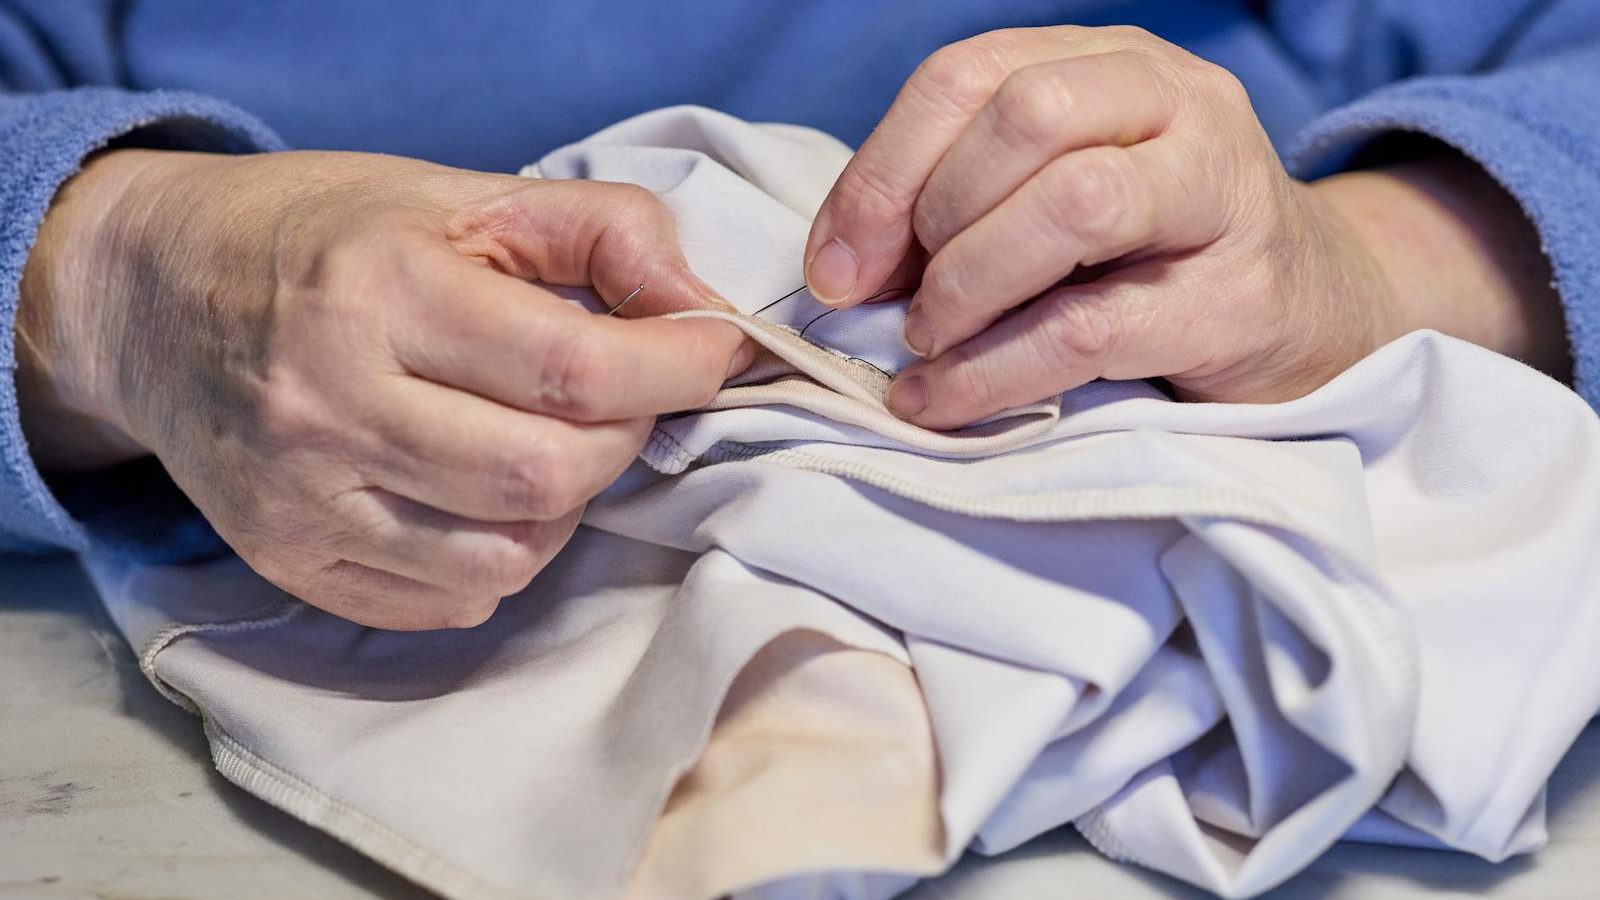
The first time I mended a hole in a jumper I sat with the needle in one hand for nearly an hour before I started. I was sure I was about to make it worse. I did not. The repair is still there, six years later, slightly visible on the inside but holding fine. It took eleven minutes.
This is the secret most mending guides do not tell you: the actual stitching is fast. It is the working up to it that is slow. Once you understand that, you can repair most clothes in less time than it takes to scroll through your phone deciding which new top to buy.
The four repairs that cover almost everything
Walk through any wardrobe and the same four problems repeat. Learn these and you will fix roughly nine out of ten broken garments.
1. Sewing a button back on
This is the simplest repair in the world and people still pay tailors to do it. iFixit News on repair culture Thread a needle, double the thread, knot it. Push up through the fabric and one buttonhole, down through the second buttonhole and fabric. Repeat six to eight times. Finish with a few small stitches under the button on the wrong side, then a knot. Done.
If the original thread is still hanging off, use a similar colour. If not, dark navy or grey blends with most fabrics.
2. Fixing a small hole in a jumper or T-shirt
Turn it inside out. Pinch the hole closed between your fingers so the edges meet but do not overlap. Stitch across the join in small zigzags, catching just a few threads at a time. Work in colour-matched thread and the repair vanishes. The trick is not to pull too tight, or you will pucker the fabric.
3. Patching a worn knee or elbow
Cut a square of fabric slightly larger than the hole. Old jeans are perfect patch material. Pin it on the inside of the garment, then stitch around the edges, either by hand or with the running stitch you used at school. Wash once and the patch settles in.
If you want to make a feature of it, sashiko-style visible mending uses contrasting thread and looks deliberately handsome. If you want the repair invisible, use thread the colour of the garment and small stitches.
4. Replacing a hem that has come undone
A hem that has dropped is rarely actually broken. The thread has just snapped at one point. Fold the hem back to its original line, pin in place, and run a row of small stitches along the inside. Use thread to match. The repair lasts as long as the original.
What you actually need
The mending kit that does ninety-five percent of household repairs costs less than ten pounds and fits in a biscuit tin.
- A pack of mixed needles, hand-sewing sort
- Black, white, navy, grey, and beige thread
- A pair of small scissors
- A few pins (the head-on-a-stick kind)
- A spare button jar, which fills itself over time
That is the kit. No sewing machine, no thimble, no tailor’s chalk. If you become serious about it later, you can add those. Most people never do.
The repairs worth paying for
A few jobs really are best taken to a tailor. They will cost between five and twenty pounds, which is a fraction of replacement. A local alterations shop will do all of these in a week.
- Replacing a broken zip on a coat or pair of trousers
- Taking in or letting out trousers more than a centimetre or two
- Shortening sleeves on a tailored jacket
- Re-stitching a leather strap on a bag
- Reattaching a lining that has fully detached
These all involve tools and skills that are not worth acquiring for one job, and the result of a botched DIY attempt is usually a garment in worse shape than when you started.
Why it feels harder than it is
Sewing has a reputation for being either a refined craft or a thing your grandmother used to do. Neither image is welcoming to someone with a hole in their favourite shirt and a Tuesday evening to spare.
The truth is that the basic stitches are no more complex than tying a shoelace. The first time is slow because everything is new. The second is half the time. By the fifth repair, threading the needle takes longer than the stitching.
The other thing nobody tells you: a slightly visible repair is fine. Clothes that have been mended look lived in, which is different from looking tatty. Most people will never notice. The ones who do are usually impressed.
The clothes that are not worth mending
A small minority of garments cannot really be saved. Knowing them in advance saves disappointment.
- Cheap fast-fashion knits where the fabric has gone fluffy and pilled all over, any repair will pull through
- Lycra-heavy leggings that have lost their elasticity, the elastic is the garment, and once it goes, the rest follows
- T-shirts where the underarm has thinned to transparency, the surrounding fabric will tear next
- Trousers where the crotch seam has worn at the same time as the inner thighs, too much weak fabric around the repair to hold a stitch
These tend to be garments that gave you their useful life and are now ready for the textile recycling bank. The honest assessment is liberating. Knowing what to repair is partly knowing what to let go.
Where this leads
The reason mending matters is not that any individual repair changes the world. It is that the habit slowly changes how you see clothes. A jumper with a small hole stops being rubbish and starts being something with a small hole. The pile of broken things in the wardrobe shrinks because nothing stays broken for long.
That shift, more than any sewing skill, is what reduces clothing waste. The first repair is the one that takes courage. The fortieth is something you do while listening to a podcast and barely thinking about it.
Frequently Asked Questions
Do I need a sewing machine?
No. Every repair listed here can be done by hand in under twenty minutes. A machine is faster for big jobs but unnecessary for buttons, hems, and patches.
What if my stitches look messy?
On the inside of a garment they barely matter. On the outside, small stitches and matching thread hide most clumsiness. Sashiko-style visible mending also turns messy stitches into a deliberate look.
How long do hand-sewn repairs last?
A properly knotted hand repair often outlasts a machine repair because the stitches are denser and the knot is reinforced. Years is normal.
What thread should I use?
Standard polyester all-purpose thread works for almost everything except heavy denim or leather, where you want a thicker upholstery thread.
Is darning a hole the same as patching?
Not quite. Darning weaves new thread across the hole itself, replacing the missing fabric. Patching covers it with a separate piece. Both work, but patches are more forgiving for beginners.
My jumper is moth-eaten in three places. Worth saving?
Usually yes. Even multiple holes can be mended in a single sitting. The exception is when the fabric has gone fragile all over, in which case any new repair will pull through within months.